From Dashboards to Data Trails: A Minimal Workflow for Following an Incident Across Services


Dashboards are good at telling you that something is wrong.
They are not good at telling you what actually happened to a specific request, user, or job as it moved across services and databases.
That gap — between a red chart and a concrete story — is where most incident time is lost. People bounce between tools, paste screenshots into Slack, and re-run the same ad‑hoc queries. The longer that goes on, the louder the incident feels.
This post is about a calmer alternative: a minimal, opinionated workflow for following an incident as a data trail across services and databases. Less wandering. Fewer tabs. A clear path from alert to rows, and back again.
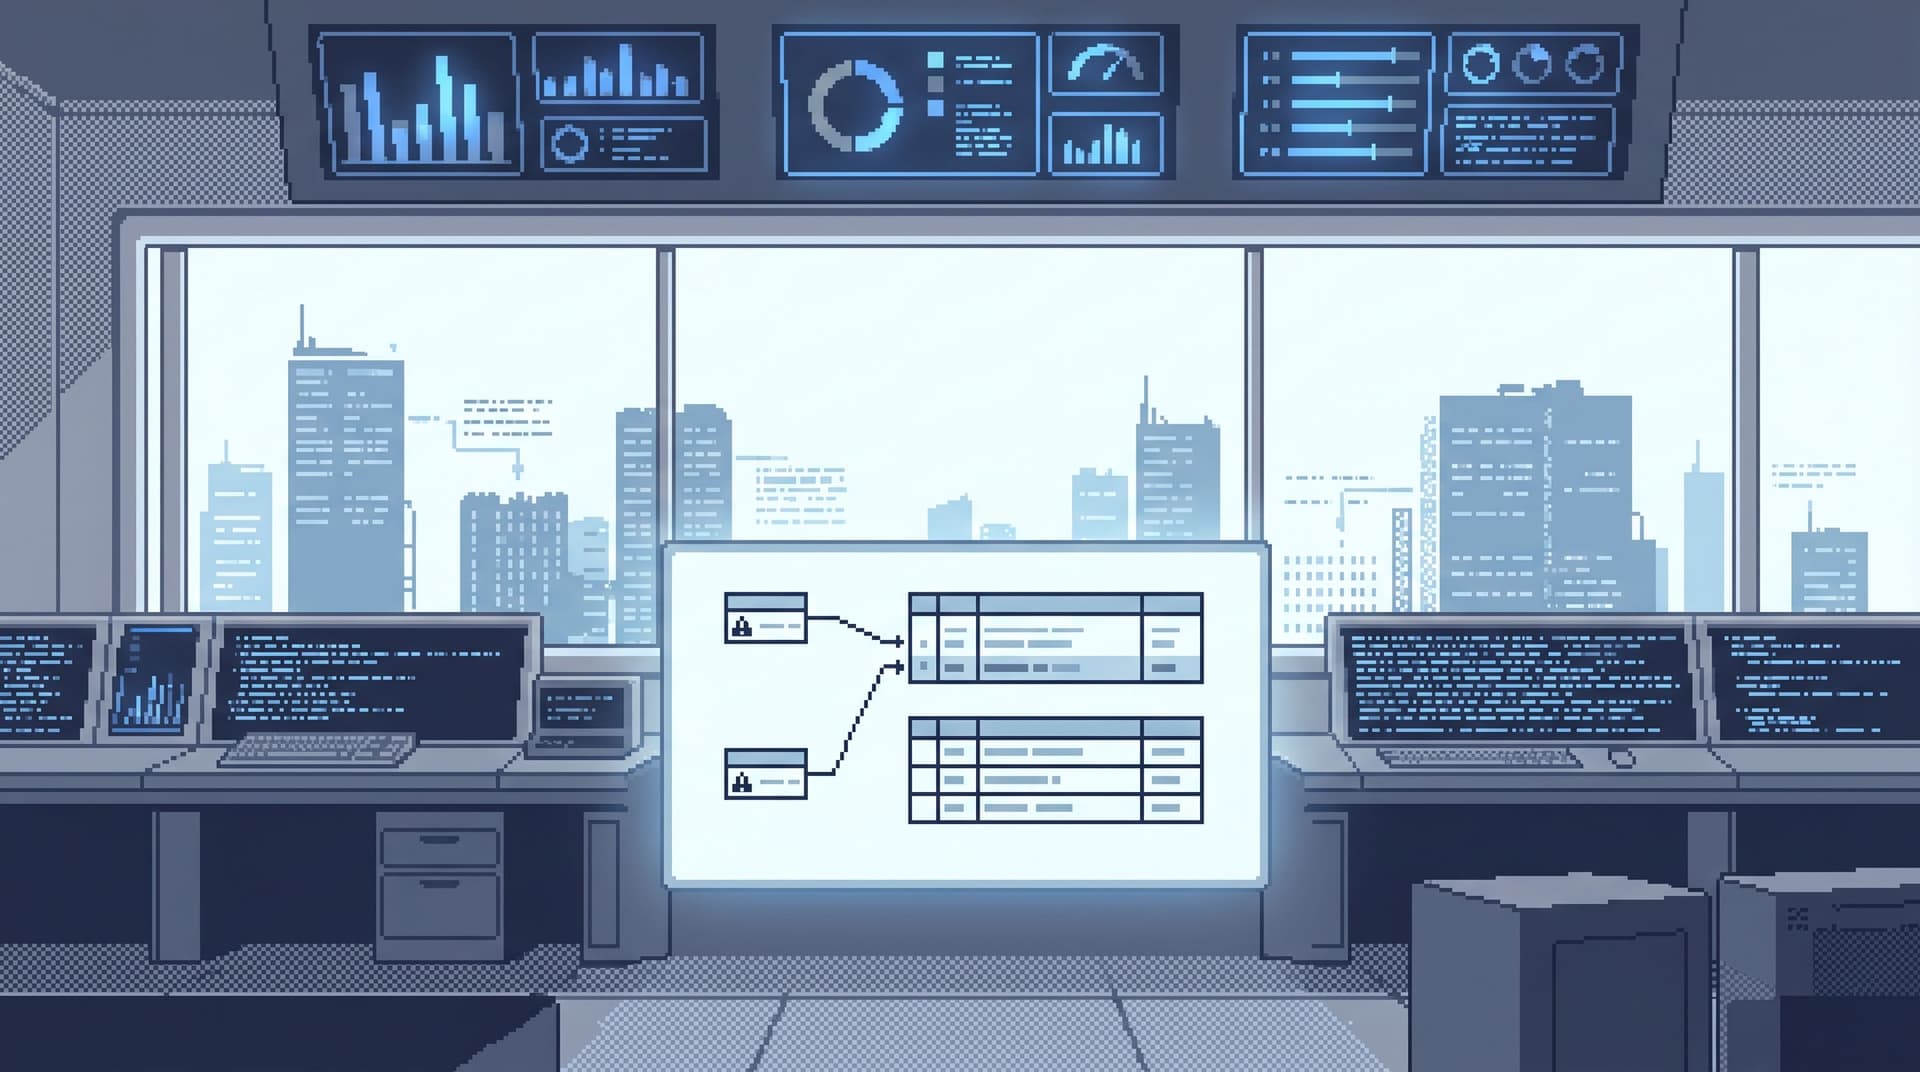
Throughout, we’ll assume you have a focused database browser like Simpl available — a calm, read‑oriented layer between dashboards and admin tools. But the principles apply no matter what you use.
Why incidents need trails, not just dashboards
Most teams already have:
- Metrics and dashboards for symptoms
- Logs and traces for technical context
- BI tools for aggregates and reports
What’s usually missing is a stable way to answer a simpler question:
“Show me the exact path this one failing thing took through our systems — and the rows it touched.”
Without that, incidents tend to look like this:
- Someone sees a dashboard spike and opens three more dashboards.
- Another person dives into logs, trying to reconstruct a request by hand.
- A third person opens a SQL client and starts poking at tables.
Everyone is working hard. Almost no one is following the same trail.
A data trail is different:
- It starts from one concrete anchor: a user ID, order ID, job ID, or trace ID.
- It defines a small number of hops you’re allowed to take.
- It keeps you close to real rows and away from tool sprawl.
- It’s repeatable — other people can follow the same path later.
When you design for trails, not just charts, three things improve immediately:
- Time-to-clarity: You can quickly say which users or jobs are affected, not just that “error rate is up.”
- Risk profile: You spend less time typing ad‑hoc SQL in powerful tools.
- Team memory: Trails can be reused, shared, and refined instead of re‑invented at 2 a.m.
If this sounds familiar, it’s because we’ve written before about the missing middle layer between dashboards and admin consoles — see “Post-BI, Pre-Admin: Defining the Missing Layer of Calm Database Tools” for a deeper framing.
The minimal incident trail: four stages
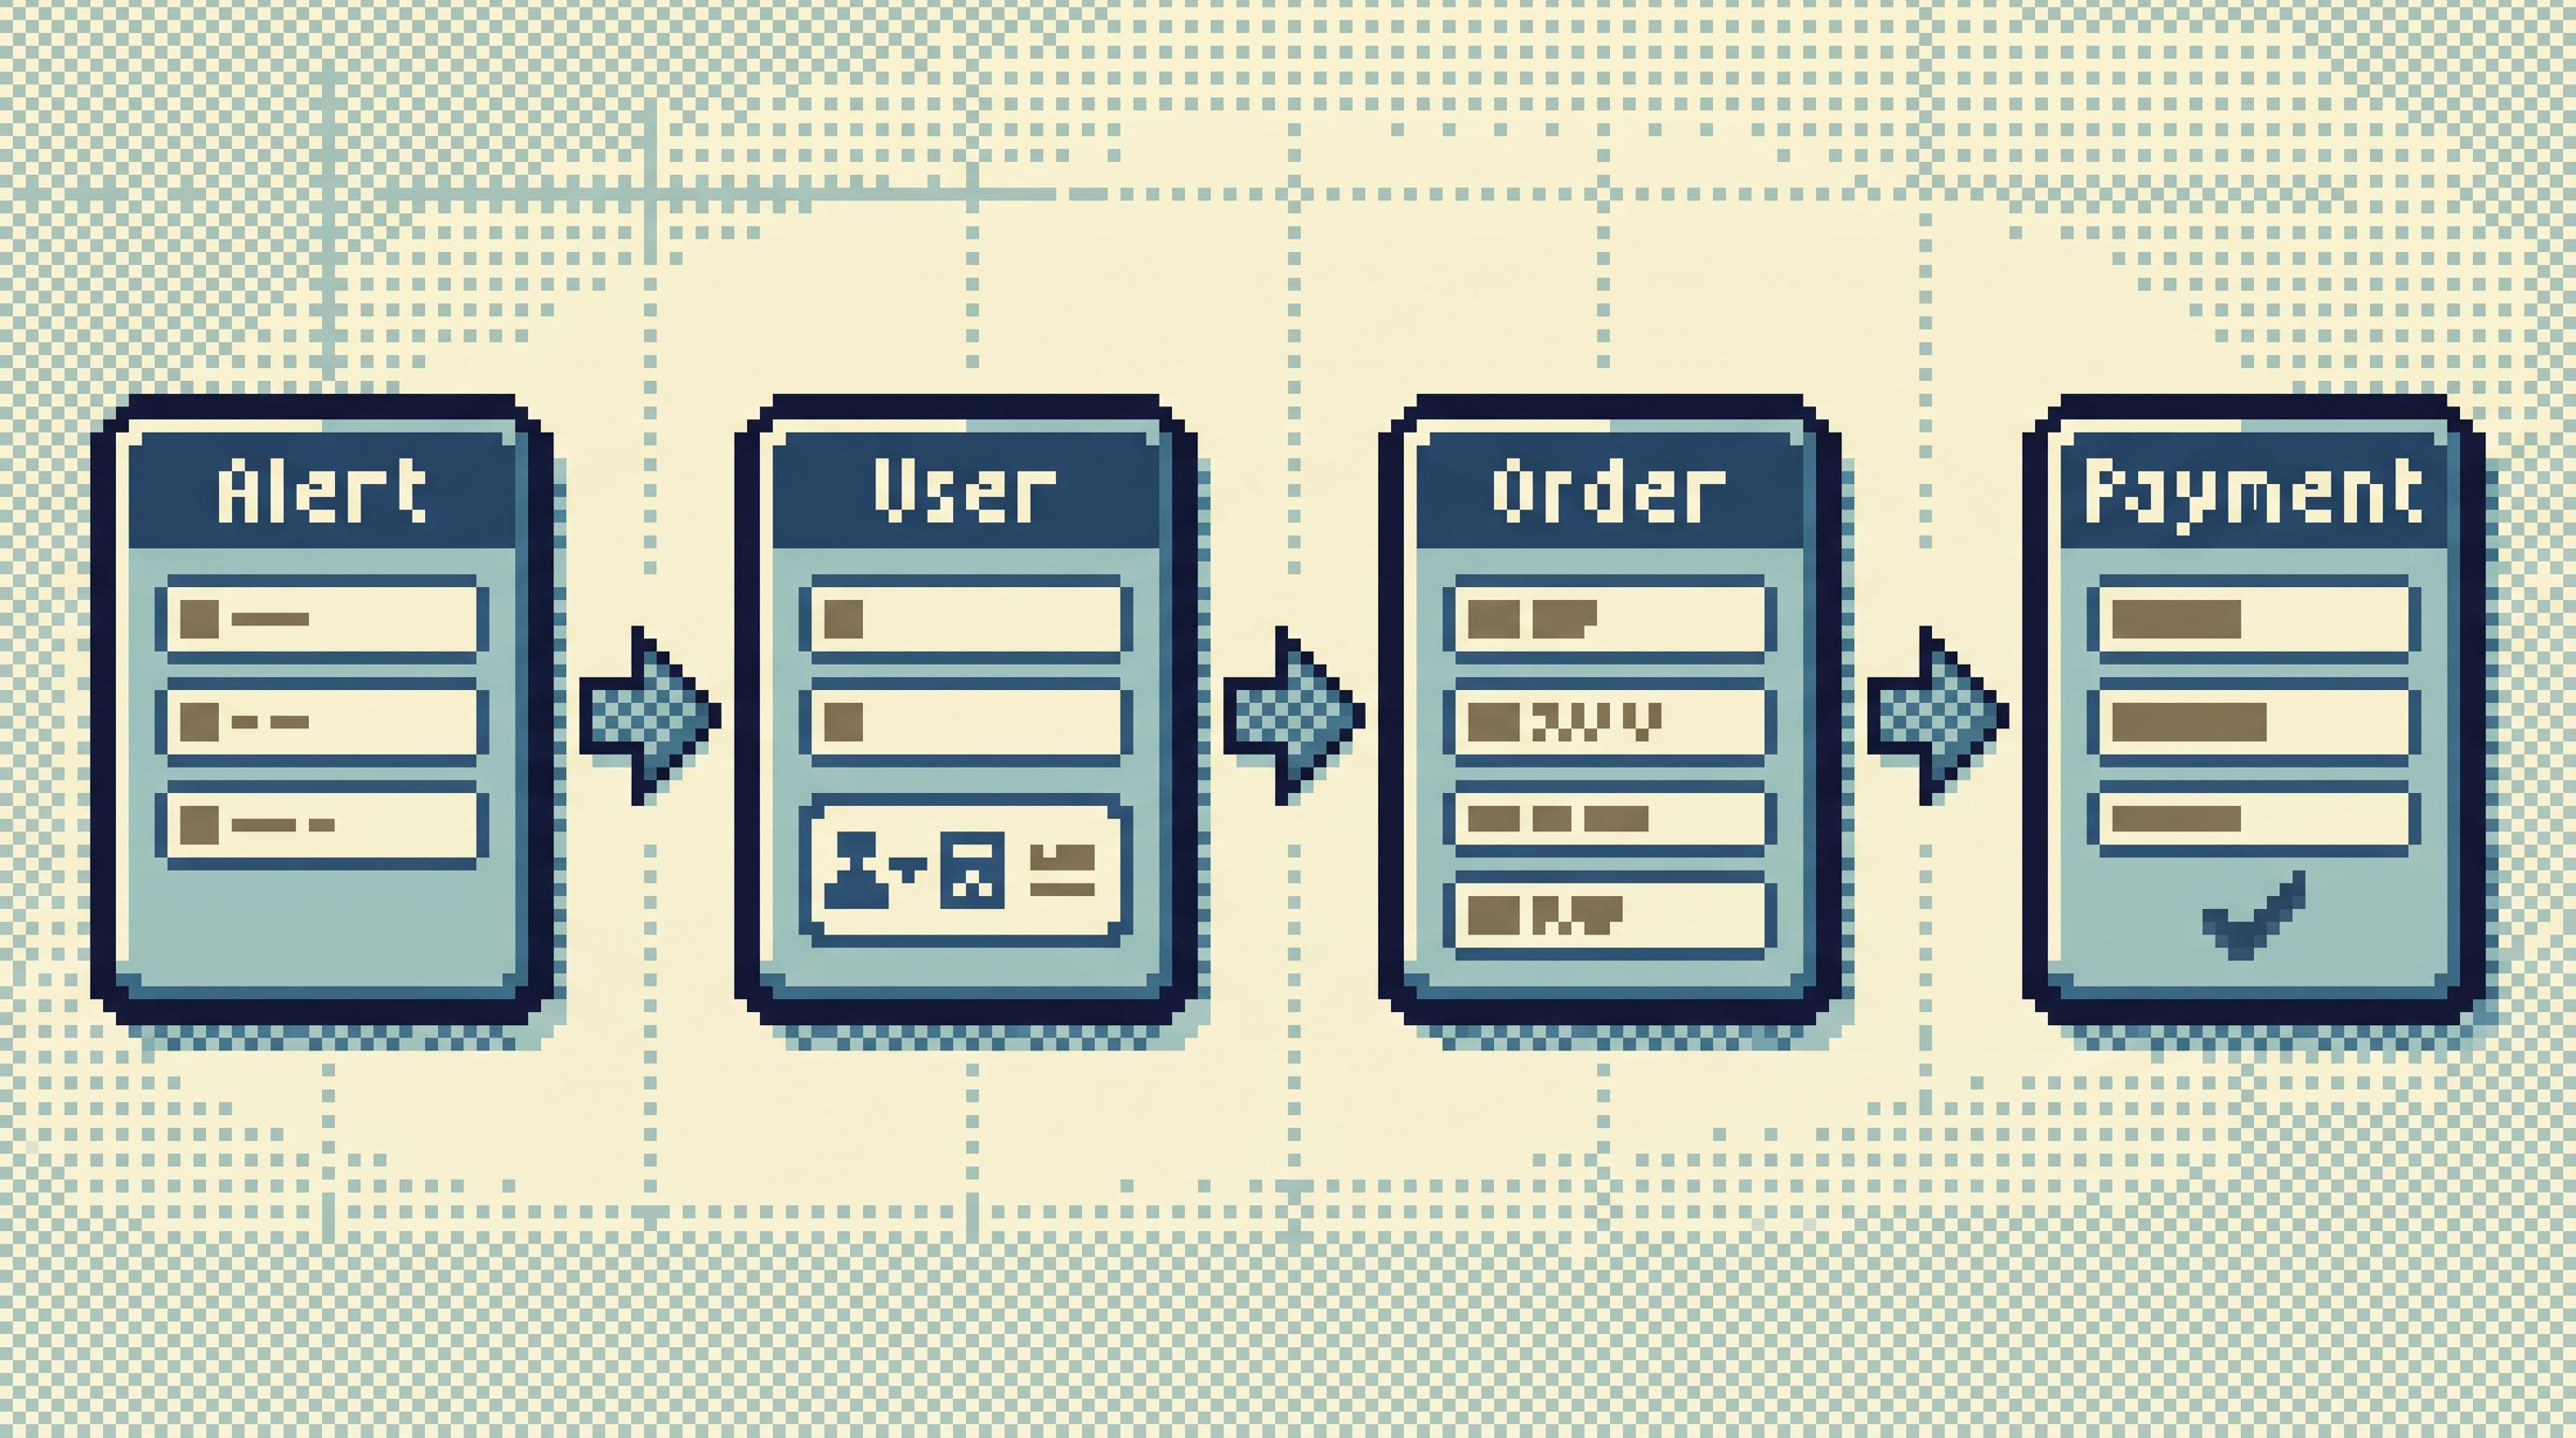
You don’t need a complex incident framework to get value here. A calm data trail can be as simple as four stages:
- Anchor: Choose one concrete identifier to follow.
- Narrow: Move from dashboards/logs into a single, focused data surface.
- Trace: Hop across the 2–4 key services or tables that define the path.
- Record: Turn what you learned into a reusable trail.
Let’s walk through each.
1. Choose a single anchor
The first move is deceptively simple: pick one identifier to follow.
Examples:
- A
user_idfrom an error log - An
order_idfrom a support ticket - A
job_run_idfrom a stuck background worker - A
trace_idfrom your tracing system
The temptation is to keep things abstract: “errors are up in checkout.” That’s fine for alerting, but it’s a terrible way to read data.
A minimal rule that helps:
- No incident reading without an anchor.
If you don’t yet have one, your only job is to get it:
- From the alert payload (include IDs in alerts wherever possible).
- From logs (grep for the failing endpoint + recent timeframe, pull an ID).
- From the customer (support tickets should include canonical IDs, not just emails).
Once you have an anchor, write it down in the incident channel and treat it as the primary key of the investigation.
2. Move from dashboards to a single reading surface
Dashboards are the staging area. Data trails live somewhere else.
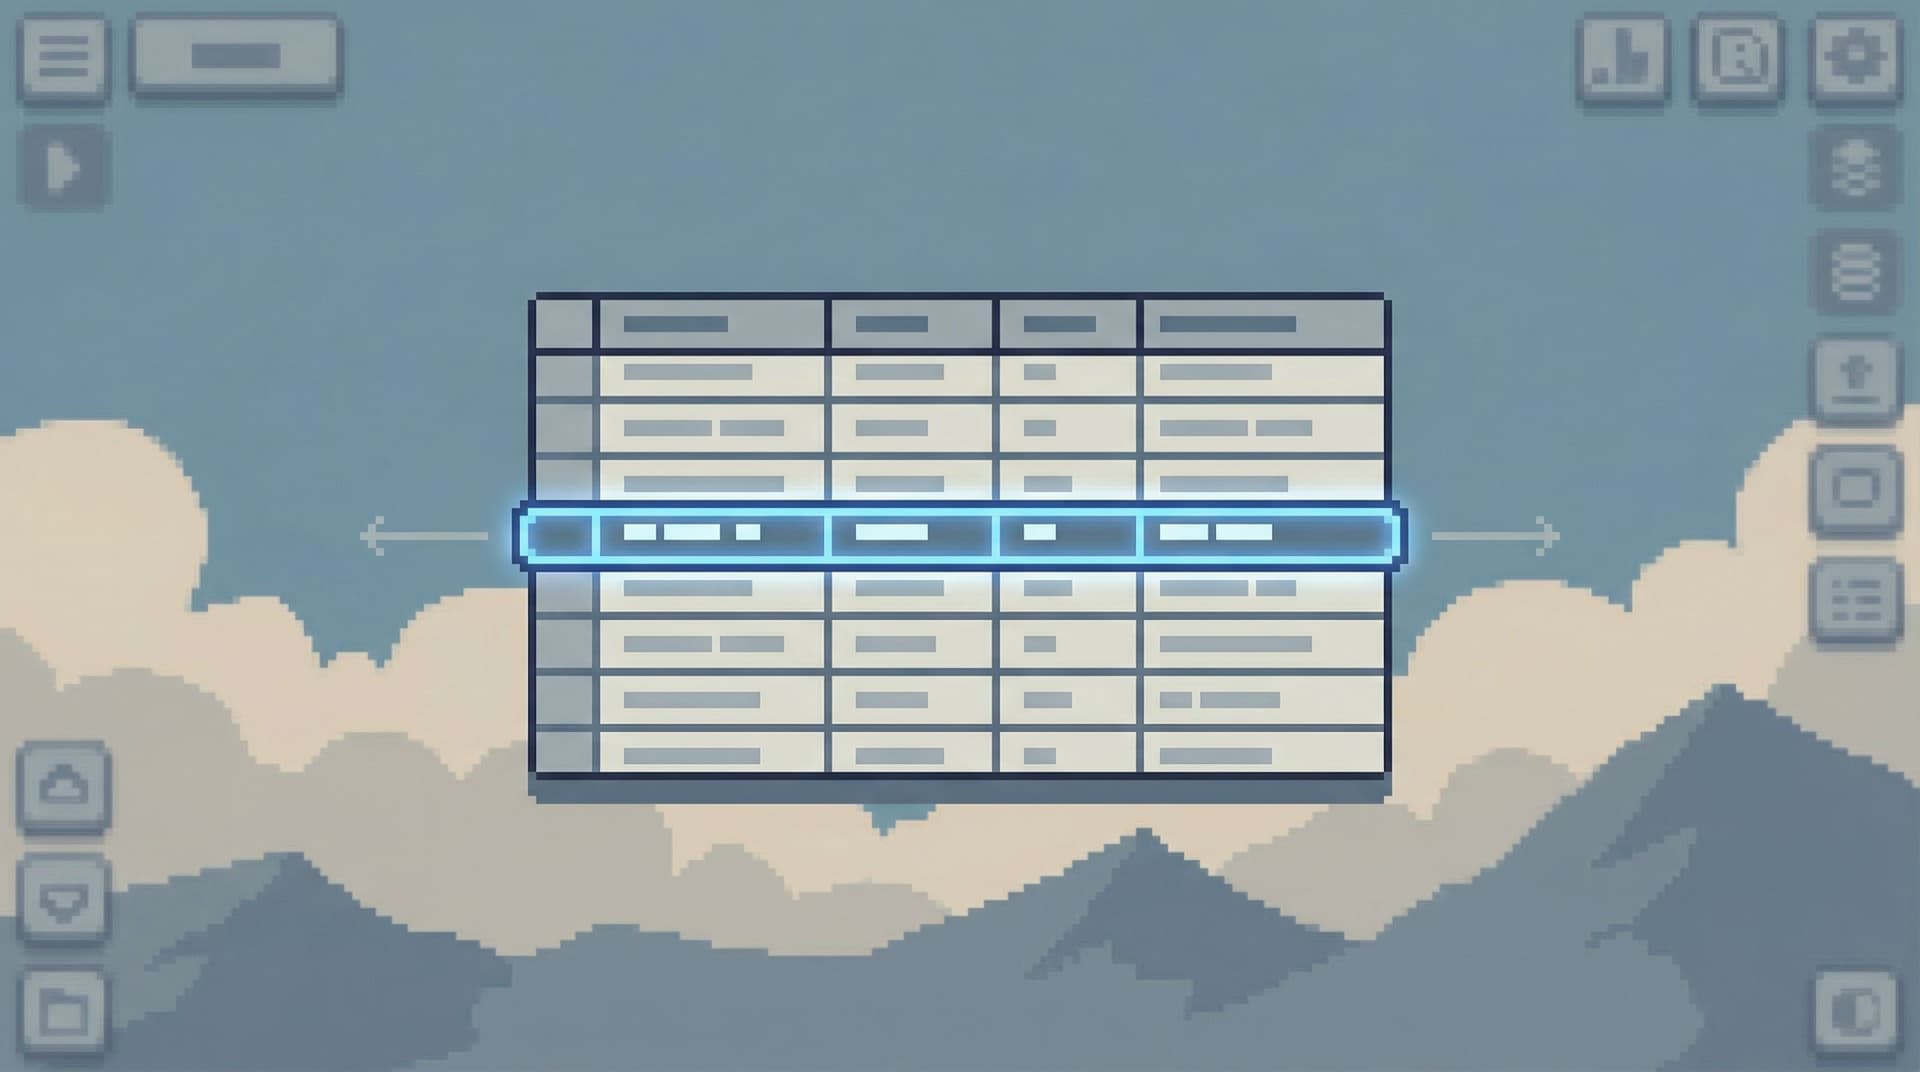
The second move is to step away from your graphs and land in a single, calm reading surface where you can:
- Look up rows by your anchor
- Follow relationships across a small set of tables
- Run narrow, parameterized queries
This is where a focused browser like Simpl fits: post-BI, pre-admin, designed for everyday production reads instead of schema surgery. If you’re curious how that layer sits between your existing tools, we explored it in “Post-CLI, Post-GUI: What a Modern Database Browser Layer Should Actually Look Like”.
What this move looks like in practice
- From a metrics dashboard (e.g., Grafana, Datadog), you click through to logs or traces to grab a concrete ID.
- From logs (e.g., Honeycomb, New Relic), you copy the
user_idororder_id. - You then open Simpl or your database browser with a pre-defined “Incident” entry point, paste the ID, and land on the primary table for that entity.
Two strong opinions help here:
- One browser tab per incident. Don’t open a new tool for every hop.
- Read-first tools only. Avoid admin consoles or raw CLIs unless you must.
You’re not trying to debug everything yet. You’re trying to see one concrete thing clearly.
3. Trace the path across services and tables
Once you’re anchored on a specific entity in a calm reading surface, the goal is to trace its path across your system.
Think in terms of 2–4 deliberate hops, not an open-ended exploration.
3.1 Define your canonical path types
Most incidents fall into a few repeatable path shapes:
- User journey:
users → sessions → requests → payments - Order lifecycle:
orders → order_items → shipments → refunds - Background job:
jobs → job_runs → affected_rows
It’s worth explicitly defining 3–5 of these paths for your system. For each, decide:
- The entry table (where you start, given the anchor)
- The key joins you care about
- The status or state fields that tell the story
This is the basis for what we’ve called “read rails”: opinionated paths through your schema that reduce both risk and cognitive load.
3.2 Apply a narrow hop discipline
For a given incident, your hop sequence might look like:
-
Start at the anchor table
- Example:
ordersfiltered byorder_id = 'ORD_123' - Check:
status,created_at,updated_at,total_amount
- Example:
-
Hop to the immediate neighbor
- Example:
paymentswhereorder_id = 'ORD_123' - Check:
payment_status,provider_response,captured_at
- Example:
-
Hop to the asynchronous work
- Example:
jobswhereorder_id = 'ORD_123' - Check:
job_type,attempts,last_error
- Example:
-
Optional: hop to downstream effects
- Example:
refundsorshipmentslinked to the same order
- Example:
At each hop, you’re looking for:
- Divergence: statuses or timestamps that don’t line up (e.g., payment success but order still pending).
- Gaps: missing rows where you’d expect one (e.g., no
job_runfor a queued job). - Clusters: multiple affected rows with similar patterns (e.g., all errors with the same
provider_error_code).
A few opinionated constraints keep this calm:
- Limit rows aggressively. Default to small limits (e.g., 50) and tight predicates. Tools like Simpl are built around this "Beyond
SELECT *" stance. - No schema browsing mid-incident. If you need to explore the schema, note it and do it later in a quieter session.
- Stay on the path. If a hop doesn’t explain the incident, come back to the last “known good” hop instead of branching sideways.
3.3 Use opinionated trails instead of ad-hoc bookmarks
As you hop, you’re effectively building a trail:
- Start from
ordersfiltered byorder_id - Jump to
paymentsbyorder_id - Jump to
jobsbyorder_id
Most tools treat this as ephemeral: a few back/forward clicks and a local query history. Then it’s gone.
A calmer approach is to turn this into an explicit incident trail:
- A named path like “Order checkout incident trail”
- Each step remembers:
- The table or view
- The filter pattern (e.g.,
:order_idplaceholder) - The key columns you care about
This is the same idea we explored in “Database Work Without Bookmarks: Using Opinionated Trails Instead of Saved Queries”: capture how you worked, not just the SQL you ran.
4. Record the trail while it’s fresh
The last step is where most teams quietly lose value: turning a one-off incident path into reusable team memory.
Instead of relying on screenshots and ad-hoc notes, aim for a light, structured record:
4.1 Capture the narrative, not just the queries
For each incident, write down:
- Anchor:
order_id = ORD_123 - Path followed:
orders → payments → jobs - Key observations:
- Payment was captured successfully at
2026-04-19T02:14:03Z. - Order status remained
pendingbecause theorder_fulfillmentjob never ran. - All failing orders share
payment_provider = 'stripe'andregion = 'eu-west-1'.
- Payment was captured successfully at
This can live in your incident ticket, a runbook, or a lightweight internal doc. The important part is that the sequence of reads is preserved.
4.2 Turn it into a reusable trail
Once you’ve followed the same pattern a few times, promote it to a reusable trail in your database browser:
- Name it clearly: “Order lifecycle (incident view)”
- Parameterize the anchor:
:order_id - Lock in the hop order and default filters
Next time a similar incident appears, on-call can:
- Grab the
order_idfrom the alert or logs. - Open Simpl to the “Order lifecycle (incident view)” trail.
- Paste the ID and follow the same 2–4 hops, calmly.
Over time, this becomes a quiet library of incident-ready trails — far more useful than a graveyard of saved queries.
4.3 Support quiet handoffs
Good trails also make handoffs calmer:
- Instead of a 30‑minute Zoom where you “walk someone through” your tabs, you share a link to the exact trail and anchor.
- The next person can replay your steps, see the same rows, and continue the investigation.
We wrote more about this pattern in “The Quiet Handoff: Sharing Production Database Context Without Screenshares or Zoom”.
Putting it together: a minimal checklist for your team
If you want to move from ad‑hoc debugging to calm data trails, you don’t need a big project. You need a few deliberate defaults.
Start with this checklist:
Anchors
- [ ] Alerts include concrete identifiers (user IDs, order IDs, job IDs) wherever possible.
- [ ] Support tickets reference canonical IDs, not just emails or free-text descriptions.
- [ ] On-call runbooks start with: “Pick an anchor before opening a database tool.”
Reading surface
- [ ] You have a focused, read-oriented database browser (like Simpl) that is the default for incident reads.
- [ ] On-call engineers know which entry point or view to open first.
- [ ] Admin consoles and CLIs are explicitly treated as second-line tools for incidents.
Paths
- [ ] You’ve defined 3–5 canonical path types (user journey, order lifecycle, job run, etc.).
- [ ] Each path has a clear entry table and 2–4 standard hops.
- [ ] Default filters and limits are conservative to keep queries small and safe.
Trails & memory
- [ ] Incident tickets capture the anchor, path followed, and key observations.
- [ ] Repeated patterns are promoted into reusable trails in your browser.
- [ ] Trails can be shared as links for quiet handoffs between engineers.
Start small: pick one frequent incident type (e.g., “orders stuck in pending”) and design a single trail for it. Use the next real incident as your test.
Summary
Dashboards tell you when something is wrong. Incidents resolve when you can calmly follow a data trail: a concrete path from alert to the exact rows that explain what happened.
A minimal, opinionated workflow looks like this:
- Anchor on a single identifier (user, order, job, trace).
- Step off dashboards into a single, calm reading surface like Simpl.
- Trace 2–4 deliberate hops across your key services and tables, using pre-defined path types and conservative query habits.
- Record and promote successful paths into reusable trails that make the next incident faster and quieter.
You don’t need more charts. You need better trails.
Take the first step
Pick one incident pattern your team sees over and over — stuck orders, flaky jobs, duplicate charges.
This week:
- Define the anchor: what’s the one ID you’ll always start from?
- Sketch the path: 2–4 tables or services that define the lifecycle.
- Build a simple trail in your database browser, with safe defaults.
If you’re already using Simpl, turn that sketch into an opinionated trail and make it the default entry point for that incident type. If you’re not, start by mapping the trail on paper — then choose whichever tool makes it easiest to follow that path calmly.
The goal isn’t perfection. It’s a small, reusable trail that means the next incident feels less like a maze and more like a straight, quiet line from dashboards to data.